
Elearning really is big business. Analysts from Research and Markets forecast that the industry will be worth a whopping $325 Billion by 2025.
That means that the industry is going to get even more competitive. So to succeed, you’d need to bring your A-game, and produce very well crafted eLearning videos. But just how hard is it to produce your own course?
And how can you tip the scales in your favor to guarantee as much success as possible?
In this blog post, we’re answering both questions. We’ll cover one of the most important aspects of creating highly successful eLearning courses: creating videos.
So, if you’ve been on the fence about starting your very own eLearning business, but just don’t know where to begin, this blog post will give you all the basics you need to start.
Let’s get into it!
Why video quality is so important
Video is the easiest way to quickly reach a large group of people with engaging content. Today, people don’t need to travel long distances or sit in lecture rooms to be educated. Internet access, the subscription economy, and mobile learning (mLearning) have made it easier to acquire new skills.
But just shooting video won't do. The quality of the video content you create makes all the difference. In fact, it’s a deciding factor that could propel your eLearning business’ success or cripple it.
Isaac Rudansky is a perfect example of why great video matters. His Ultimate Google Ads course on Udemy has a 4.7 rating from 29,406 students and counting.
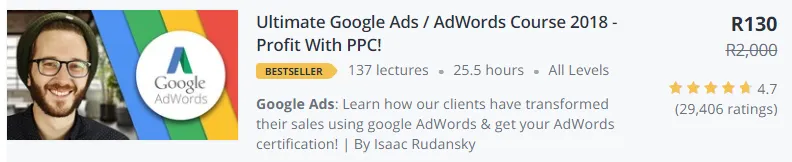
How and why is that possible?
He produces great videos.
You can do this
Before we dive into the 7-step guide, let’s take a step back and address common concerns eLearning course creators have. This part is as important as the 7 steps that follow. It will help you overcome the three most common mental barriers that could see you decide against creating your videos.
1. I don’t know where to start
The easiest way to complete your project is by creating a game plan. This blog post will guide you through the process of planning your videos.
2. I don’t know how to shoot video
You won’t become a world-class videographer overnight, but the tips in this blog post will give you enough to get started. Your growth from there on is in your hands and all you need to do is learn and practice to elevate your skill level.
3. I don’t think I can do this
All new endeavors can be scary. If you’re afraid of getting in front of a camera and sharing your knowledge, you can overcome that fear. Step 5 of this guide includes a video on how to be more confident on camera.
It’s also worth remembering that practice makes perfect. As you shoot more videos, you’ll become more comfortable with the process. Planning your storyboard, being in front of the camera and editing video will become second nature.
7 steps to creating amazing eLearning videos
The 7-step framework is a basic foundation for creating videos. Here’s what we’ll cover:
- Creating a storyboard
- Preparing your course material
- Preparing the equipment you’ll need
- Setting the stage
- Preparing yourself to be on camera
- Recording your video
- Editing your video
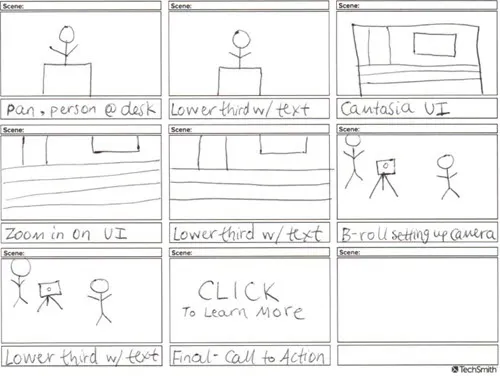
Step 1: Creating a storyboard
Storyboards create structure. They include a step-by-step sequence of events that take place in your videos. Here’s what yours should include:
What you’ll share
The easiest way to determine what you’ll share is to make a list. Document all the important points you’ll need to cover in the video. Think about the major topics and then segment them into smaller or sub-topics.
When you’ll cover specific topics
eLearning involves sharing knowledge in an easy-to-understand format. This also includes knowing when to cover certain topics to help connect the dots for your students.
Your storyboard must include a timeline that shows which topics are covered throughout each video.
How long your video will be
Elearning, while still learning, is received differently by students. Research by Philip Guo, a professor of Computer Science found that eLearning videos shouldn’t exceed 6 minutes. When they do, students lose interest and motivation to continue with course content.
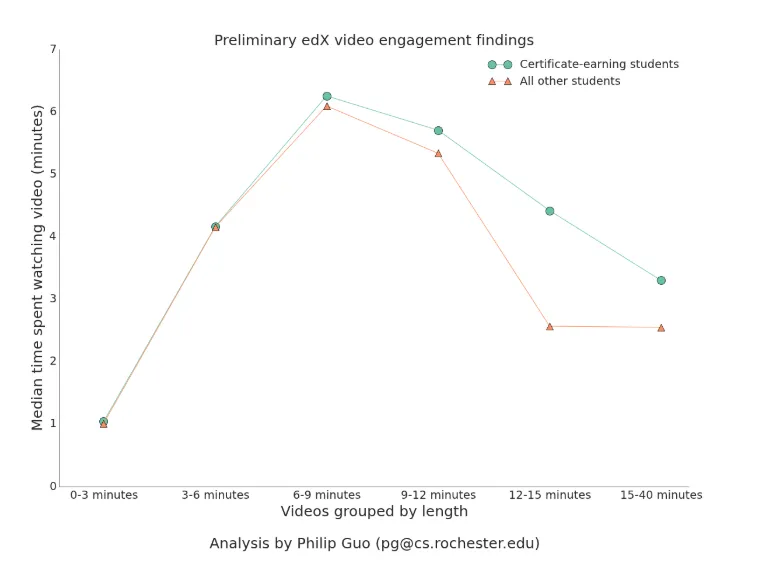
Your storyboard will help you plan when to share different topics and how long you should spend covering each idea.
How you’ll record content
Planning your storyboard must account for how you’ll present your video.
Here are the 3 questions that will help you determine how you’ll share your content:
- Will you use face-to-face recordings?
- Will you need to use a whiteboard?
- Does using an overhead camera work better than sharing your computer screen?
How and when you’ll transition between shots
Transitions are an important part of creating dynamic and engaging videos. They keep learners focused on your content as you switch camera angles and use different shots.
Which effects will you use to switch between shots? Will you dissolve, fade in and out of shots, or transition using a wipe from left to right effect?
Which camera angles you’ll use
Camera angles make a world of difference to viewers. The help learning better understand what they are looking at based on the detail that appears in the video.
For example, a full shot shows the entire subject of the video, while a medium shot will only include ¾ of the subject.
Here are three shots that will work well for eLearning videos:
Full shot
Shows the subjects entire body. You may not show your entire body but may need to display other elements as subjects in your videos.
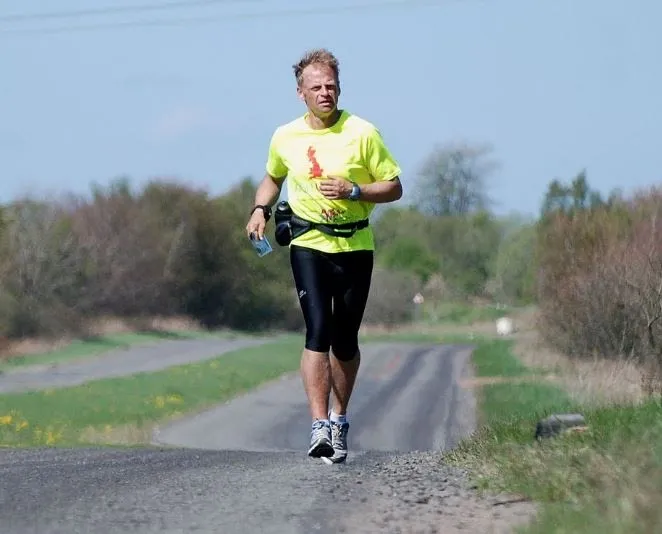
For example, full shots are perfect for demonstrating how to perform particular physical fitness exercises. A full shot will allow you to show learners the complete body movement, including where to place their hands, feet and what position their bodies should be in to generate the best results.
Medium shot
The subject is shown filmed from their head to their knees. This shot works well for demonstrations don’t require the subject’s entire body being captured (think whiteboarding videos).

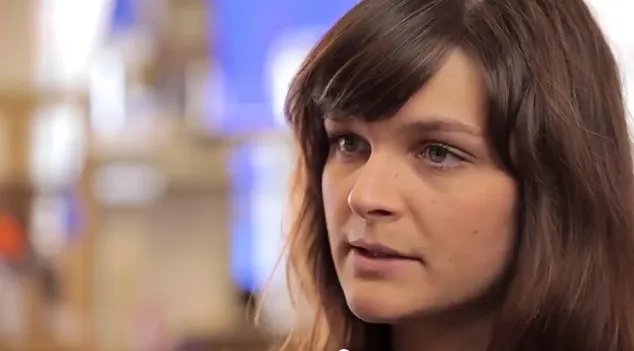
Close-up shot
The subject’s face is typically the main focus. This shot is great for use when you want to place emphasis on a certain subject matter or create a more personalized experience for your learners.
Step 2: Preparing your course material
The structure of your video will be influenced by your course material. The volume of material, depth of subject matter and the additional resources you make available all matter.
Here are 3 steps for gathering all course material you’ll need to include in your videos.
- Identify the major topics you’ll need to cover in your video course along with any sub-topics
- Identify any external resources you’ll need to share with learners and create a list with each. This includes examples and case studies to help strengthen your course material.
- Create a folder on your computer where you’ll save all resources, ensuring that you structure content by major topic as parent folders and sub-topics as child folders.
Building the ultimate informational resource for your videos is vital. The more detail you include in your course, the more value your viewers will experience. You’ll also be able to complete your video recording faster as you’ll know what material to reference and when.
Step 3: Prepare the equipment you’ll need
Here’s a list of the basic equipment you’ll need to create your videos:
Camera
Shooting video and the quality thereof is determined by the camera you use. Most digital cameras include a basic set of features that allow you to capture the right shots easily.
If you’re using a digital camera, here are two features that will help streamline your recording process.
Autofocus
Being able to set up your camera once makes the recording easier. Autofocus helps by allowing you to quickly establish which areas your lens needs to focus on for a series of shots.
Face Recognition
Like autofocus, face recognition saves you the time it takes to manually focus on areas in your setting.
Digital Cameras
Finding a digital camera with an external microphone input port from a name brand for under $200 will be a challenge. If your budget doesn’t allow you to spend more than $200 on a digital camera, you can purchase an affordable camera and record your sound on a smartphone (see more under “Tips for recording audio” below).
There are a variety of beginner digital camera without external microphone input ports on the market. All on offer will help you record great video. If you’re looking for a recommendation, try the Sony DSCW800/B. It comes with 20.1 MP capability and records in 720 HD. It also offers 5x optical zoom and reduced blur with SteadyShot Image stabilization.
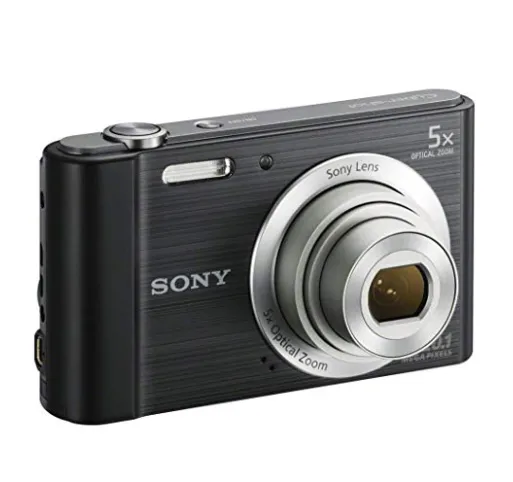
Pricing for this camera starts at around $80. Learn more about the Sony DSCW800/B.
Should you be able to invest in a camera that offers an external microphone input port, consider the Panasonic Lumix G7. It captures 4K QFHD video, has a 16MP lens and includes WiFi connectivity.
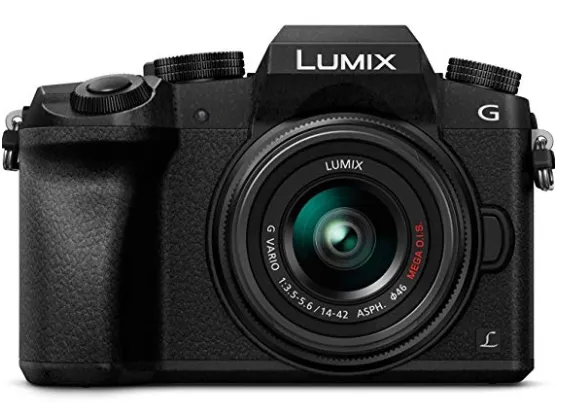
Pricing starts at around $500. Learn more about the Panasonic Lumix G7.
Recording Video with a Smartphone
If you don’t have a digital camera, can you use your smartphone?
It depends on how advanced your phone is.
Most smartphones offer high-quality video recording capabilities. If you plan to use your smartphone, here are a few tips to help you produce great videos:
Resolution matters
While the higher resolution is always better, it may be challenging to record high-quality video on a smartphone. The resolution you chose to record in will influence the storage space each video will require on your phone.
For example, if you record 4K resolution video on your iPhone 6S, you’ll be able to store up to 40 minutes of video — if you don’t have any other apps or files on your phone.
Most phones settings allow for recording in Full HD, HD, and SD. To save as much storage space as you can and deliver quality video, use the HD setting.
Set your focus manually
Smartphones allow you to set the lens focus by touching your screen. While this works for hand-held videos, it won’t suffice for eLearning videos. You’ll need to keep your shots consistent and therefore change your focus option to manual.
While most phones have different operating systems and camera settings, opening your camera app and selecting the video recording feature should help you find the focus settings.
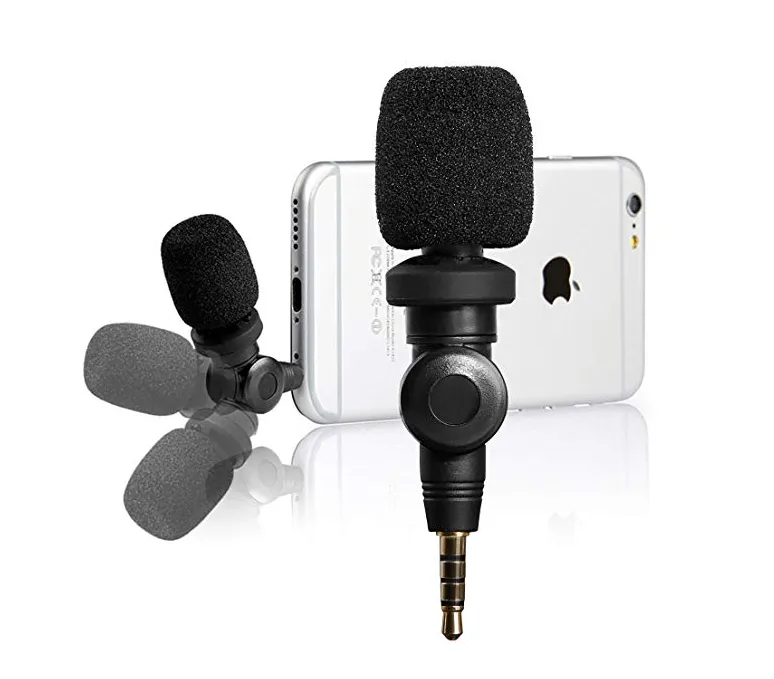
Audio can be tricky
Videos recorded on smartphones don’t produce high-quality audio. This is because the speakers on smartphones aren’t designed with sophisticated noise-canceling capabilities.
Solve this problem by investing in an external microphone.
Note: sound quality is also affected by your surroundings. Try and shoot your video in quiet spaces.
Tips for working with your camera:
Use a tripod
Tripods help level your camera or smartphone. When used with floor markers, you’ll be able to quickly replicate settings for any reshoots and not worry about losing perfect angles.
There are tons of tripod options available on the market and most will work with almost every camera. Prices start at around $20.

If you’re looking for an entry-level tripod, you could opt for the AmazonBasics Lightweight Camera Mount Tripod Stand. It comes with a bag, measures at 16.5 inches collapsed and 50 inches extended.

Learn more about the AmazonBasic Tripod.
If you plan to record video with your smartphone, you have two options.
Option one: you could buy an attachment that connects to a standard camera tripod.
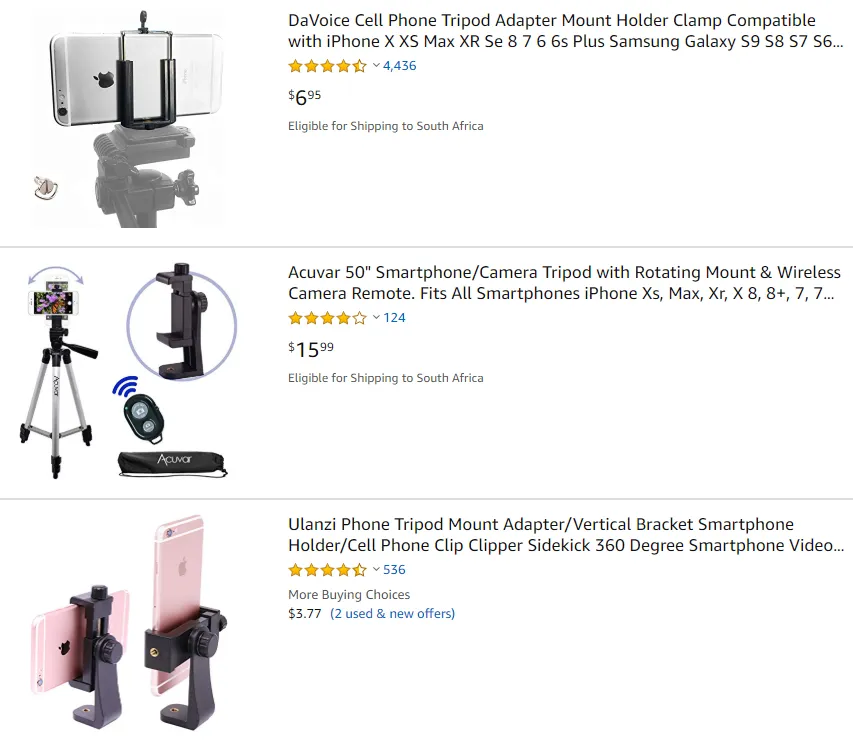
It’s recommended that you choose something relatively strong to hold your smartphone in place. The Ulanzi Phone Tripod Mount Adapter/Vertical Bracket will do the job. It also allows for landscape/horizontal recording.
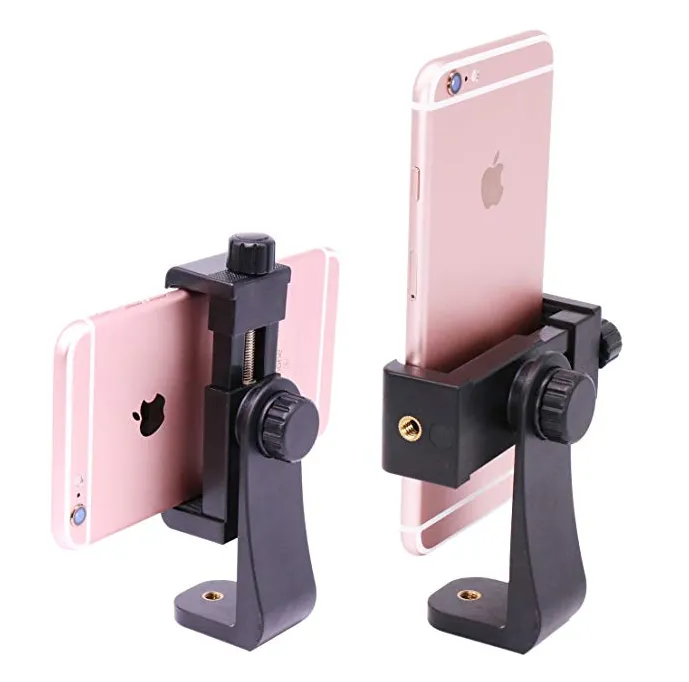
Learn more about the Ulanzi Phone Tripod Mount Adapter/Vertical Bracket.
Option two: purchase a stand built for supporting smartphones.
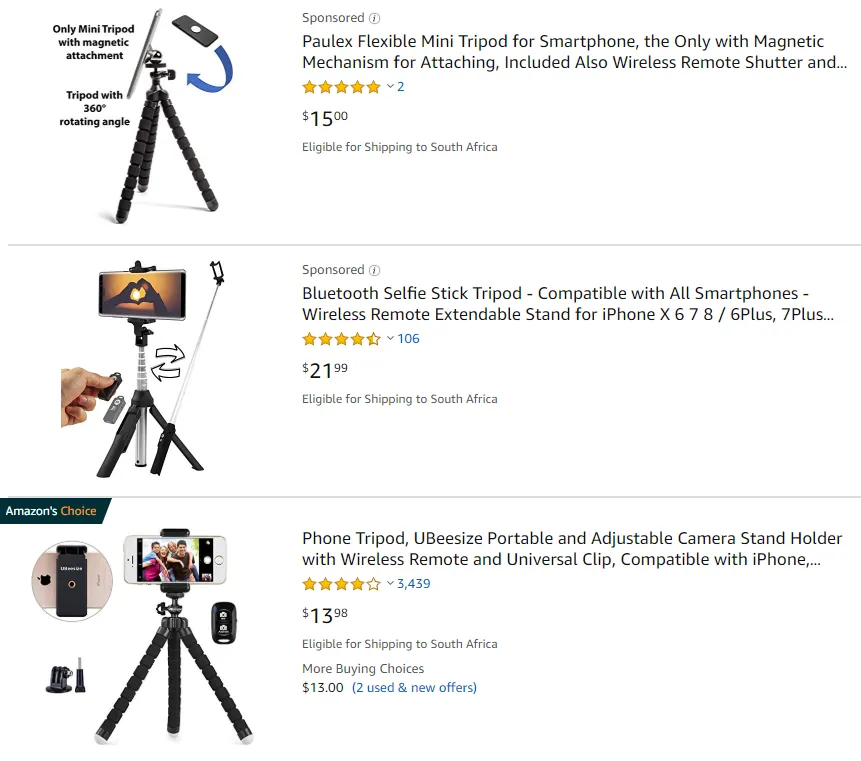
While there are many mobile phone stand options available, the UBeesize Portable and Adjustable Camera Holder may be the best choice. It is sturdy and also comes with a wireless remote for recording.
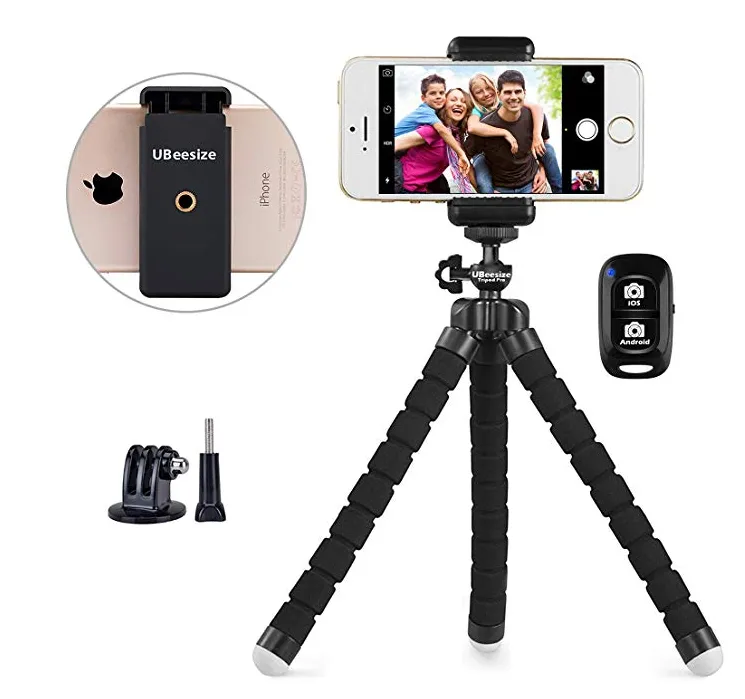
Pricing starts at around $13. Learn more about the UBeesize Portable and Adjustable Camera Holder.
Shoot in landscape (horizontally) when using your smartphone
Most video-on-demand (VOD) platforms used for eLearning are built to accommodate users with desktops, tablets, and mobile phones. In order to make your video render perfectly, shoot your content in landscape mode. This will allow you to fill desktop, tablet and mobile phone screens.
Microphone
Audio is just as important as the quality of your video. In fact, professional videographers argue that you could get away with poor video quality, but bad audio quality can ruin great videos.
While most cameras and digital video recording devices can pick up sound when used on their own, they don’t record high-quality audio without the help of external microphones.
Whether you’re using a digital camera or smartphone, investing in an external microphone will be worthwhile. If you’re considering using the Panasonic Lumix G7, you can pair it with the Vidpro lavalier external microphone.
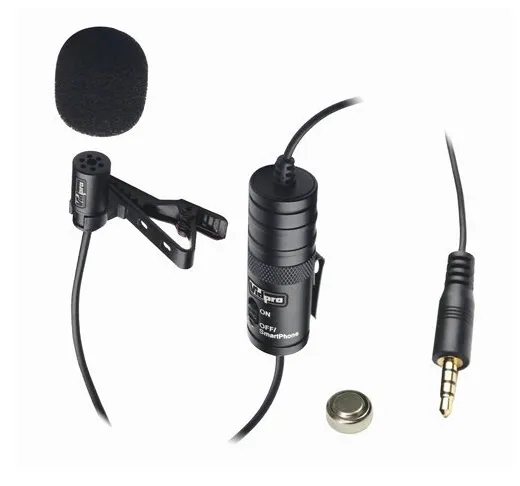
Pricing starts at around $20. Learn more about the Vidpro lavalier microphone.
Tips for recording audio
Use a portable audio recording device
Recording audio for digital camera video can be handled in various ways. But if your environment is prone to noise disruptions, an external microphone attachment may not cancel out all the noise. In this case, you could use a portable audio recorder.
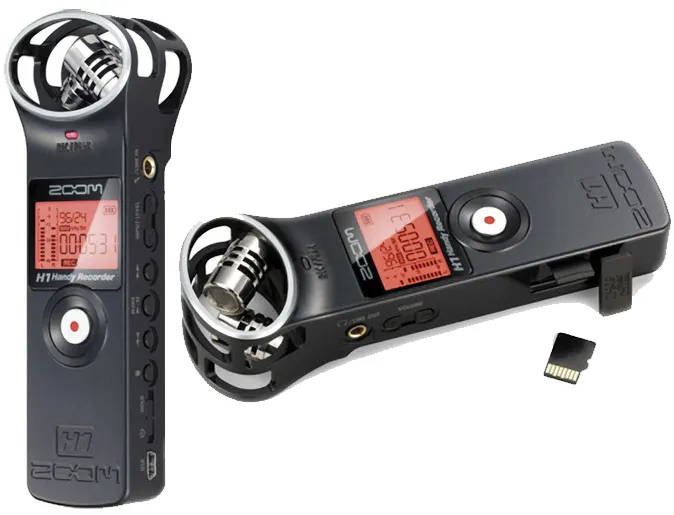
Image: Zoom ZH1 H1 Handy Portable Digital Recorder
This approach is referred to as “dual-system sound” recording. Your video and audio are synced in the editing phase.
Portable audio recorders will connect to a digital camera. They are somewhat advanced pieces of hardware and don’t do the job on their own. You will need a portable audio recorder, a cable from the mic to the portable recorder, and your mic.
Here’s a great video on how to record sound for your video using a portable audio device:
Can’t afford a portable audio device? You can use a smartphone. Simply connect your external mic to your phone. You can then record your video on another smartphone or your digital camera while recording your audio.
Here’s a quick video on how to use an external mic and smartphone to record audio:
A note for Android users: recording audio on your Android smartphone works the same way. Connect an external mic, use an audio recording app and hit the record button.
Set your lighting
The right lighting is crucial. It elevates the overall look of a video and can be used to it set the scene for whatever subject matter you’re covering and produce the effect you want to create for your audience.
The good news is that creating the perfect lighting for your video isn’t as hard as you might think.
Before we cover what kind of lighting equipment you need, it makes sense to share how to use lighting first.
Here are 3 tips on how to set up your lighting for the best results:
Focus on the subject first
The subject of any video is what you want your audience to pay attention to. But if your subject doesn’t get enough lighting, it makes for dull and disengaging viewer experience.
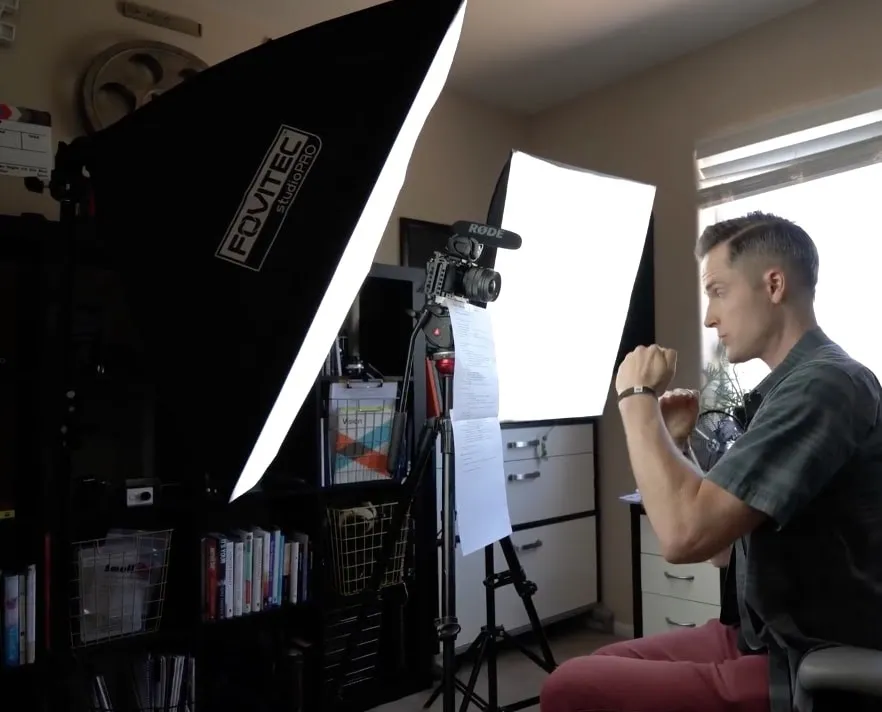
Natural light works
Natural light works excellently for video recording. All you need to do is position your subject in front of a window with your camera facing the subject. The idea is to have as much light reflecting off of the subject.
Use what you can
While using natural lighting or artificial LED lighting would be ideal, you can get away with a lamp pointed in the right direction. The most important rule to stick to is that your subject must receive light first.
If you’re able to invest in lighting equipment, there really isn’t any hard and fast rule to follow. For many videographers, choosing lighting is almost a matter of personal preference. You could opt for LED lamps or rings. You could also use a photography umbrella kit.
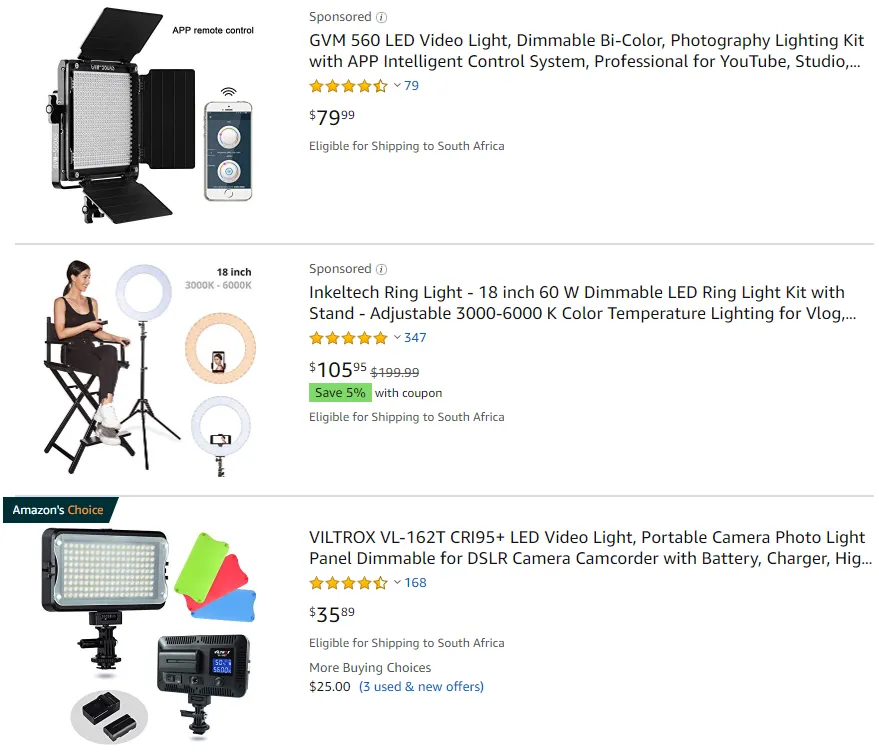
Lighting options start from as low as $20 on Amazon.
With many options to choose from, don’t let the idea of choosing your lighting instruments overwhelm you. Try the GVM 560 LED Video Light. It can be mounted to your roof or on a tripod and controlled by a smartphone app (iOS and Android apps are available).
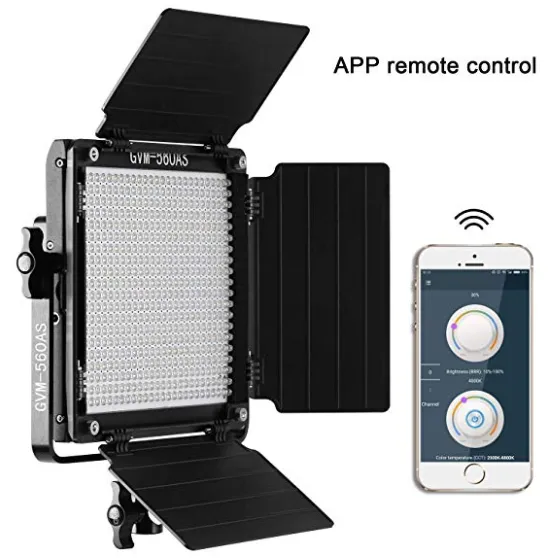
Pricing starts at around $80. Learn more about the GVM 560 LED Video Light.
Bonus lighting tip: Avoid overhead lighting
Overhead lighting may seem like a good idea, but it doesn’t produce the right effect. It creates shadows on your body and darker lines on your face.
Storage
Recording video and audio often involves more than one take. And when you’re recording a complete course, you need to be able to save as much video and audio to put together a perfect product in when editing.
Access to data storage is therefore important. Here is a list of data storage options along with usage tips and considerations:
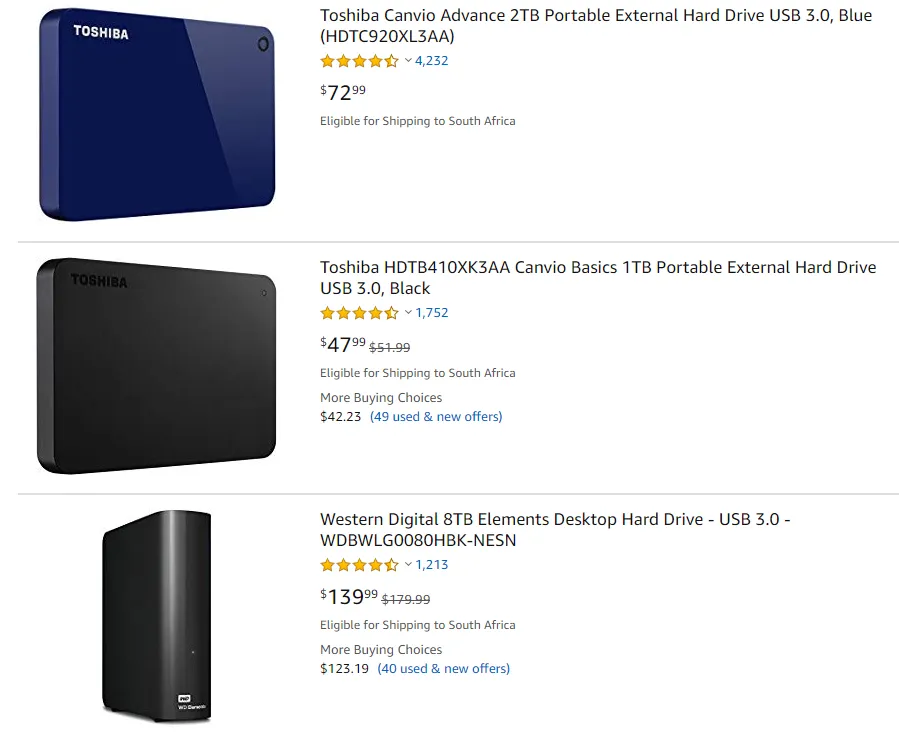
External hard drives
Most videographers rely on portable external hard drives. They’re easy to connect to PCs and often fast enough to support quick file transfer.
If you opt for external hard drives, purchase one with as much size you can afford. This will save you from the tough decision of which recording to sacrifice in the name of space.
External hard drive prices start at around $40.
The Seagate Portable 2TB External Hard Drive is a good choice. With 2TB of storage, you’ll be able to record ample footage.
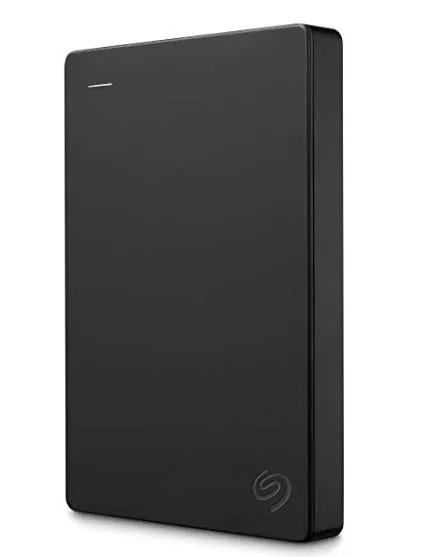
Pricing starts at around $60. Learn more about the Seagate Portable 2TB External Hard Drive.
Google Drive
Your standard free Google Account will give you up to 15GB of free space. Additional space is available at a fee and will require upgrading your GDrive account to a Google One account. Learn more here.
Create a free Google Drive account and get 15GB of space here.
Dropbox
Dropbox offers a free 2GB storage account. There's a good chance that you’ll need more storage and can upgrade to a 2 terabyte account for $9.99/mo.
See Dropbox’s pricing plans here and sign-up for a free 2GB account here.
MEGA
You can get 15GB from MEGA with an additional 35GB that expire after 30 days. Upgrades are available.
Create your free 15GB account and see pricing plan here.
Online storage is a convenient way to save footage, but there are two considerations to make when you using the cloud.
First, you’ll need to ensure that you have access to a fast and reliable internet connection. Uploading large files can be time-consuming and a slow and weak connection will work against you.
Secondly, while most cloud services are secure, they are not impervious to failure. Reduce the risk of losing your footage by storing it on both external drives and in a secure cloud storage account.
Step 4: Setting the stage
Choosing the location to record your video directly impacts the quality of your video. Everything from the background you use to the objects that appear in your video matter. Here are 6 tips to help you create the perfect setting:
Get the right amount of light
While we’ve covered lighting above, it’s worth emphasizing how important adequate lighting is for creating great videos. If you’ll do most or all of your recording at nighttime, ensure that you use enough light to compensate for darkness.
For the best lighting, use two light sources positions at 45-degree angles in front of you. This setup will eliminate shadows that would appear with just one light.
Remove reflective surfaces
Ensure that you’re using an area that doesn’t have any reflective surfaces. Reflective surfaces cause glare on camera lenses and will degrade the quality of your videos.
Use backgrounds that offer contrast
You can use color contrast between yourself and the background in your video. This is easily achieved by using colors that make you stand out on video. Color contrast applied effectively also makes for aesthetically pleasing, and therefore, more engaging video.
Creating a professional-looking background for your videos isn’t expensive and can be accomplished with the use of background paper.
Using Background Leader Bars and Background Paper
Background paper is affordable and comes in various sizes and colors. It is ideal for creating a professional studio look relatively quickly with minimal effort.

Background paper hanging from a background leader bar, you to easily create the background you need in minutes.
If you’re not able to get your hands on a leader bar, you can secure your background paper to a surface with tape or staples. But if you can afford to, invest in a leader bar. Leader bar makes it easier to reuse, handle and limit wear and tear of the background paper.
Visit Savageuniversal.com for more on background leader bars and paper.
Order background objects
Create a sense of order between all objects that appear in the background of your video. Ordered objects are easier for the eye to accept. For example, if you recorded a video with an untidy bookshelf in the background, there’s a good chance that it will distract your viewers.
An ordered bookshelf on the order hand will easily be noticed and then dismissed, allowing your audience to focus on you.
Avoid using windows as backgrounds
Stay away from recording in front of windows where people pass by. They will cause distractions for viewers and ultimately make the learning process challenging.
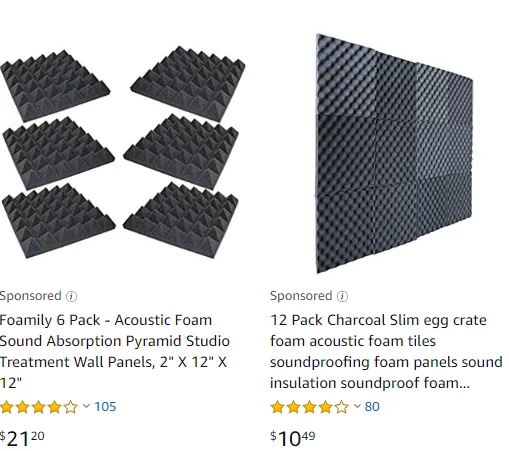
Soundproof where possible
You need as quiet an environment as possible to ensure the best sound quality. Your microphone may be able to block out certain sounds, but a loud train or crowd of people will influence the audio quality of your video.
Invest in acoustic foam to help create a quieter setting. Pricing starts at around $10.
Keep pets out of the recording room
Pets may distract you from recording. They may also make it hard to find the momentum you need to record all the shots you require.
Step 5: Preparing yourself to be on camera
Getting camera-ready can be a little daunting, especially if you’re not used to recording video.
But don’t let hold you back from starting. Like all skills, speaking into a camera can be learned and developed.
Here are 4 tips for preparing yourself to record videos:
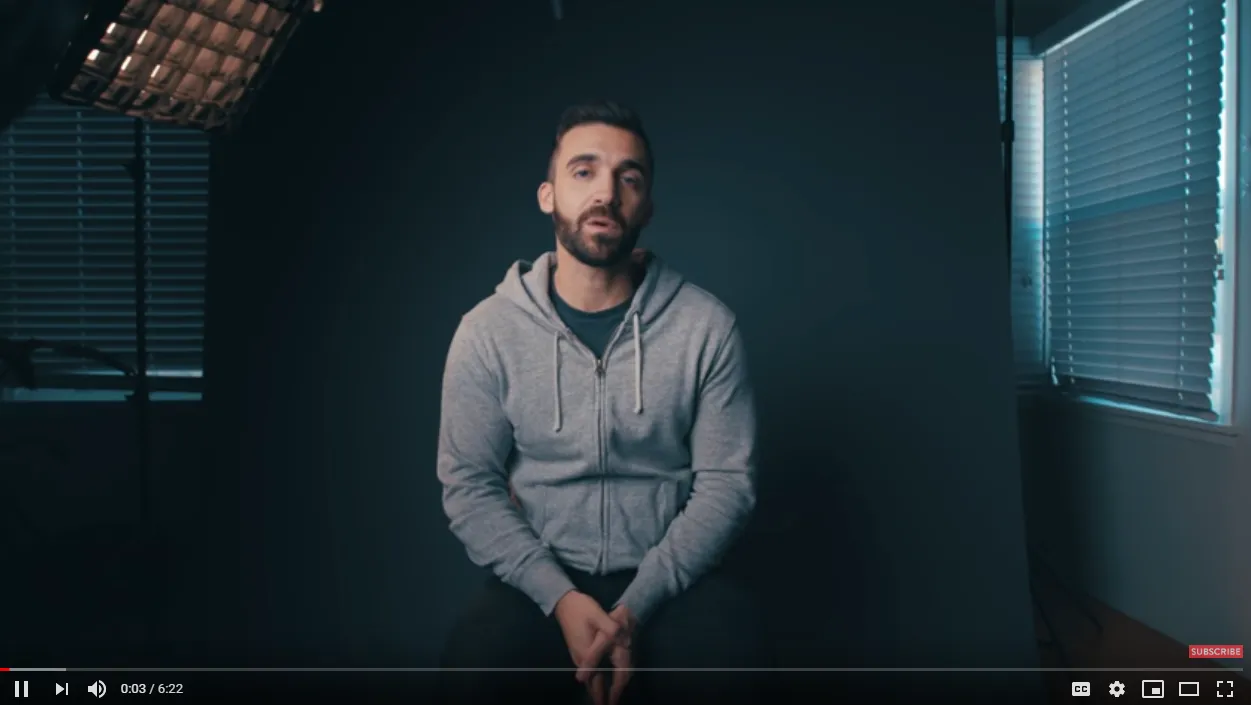
Appear confident on camera
Yes, it sounds easier said than done, but appearing confident on video is something you can practice.
When Nick Nimmin started recording videos on YouTube, he worried about the information he shared and what people would think about him. In this video, he shares helpful tips on how to prepare your voice, body, and think about recording video.
Watch his video on how to be more confident on camera:
Look the part
First impressions count. When you shoot your video, it doesn’t take much to appear professional and presentable.
Here’s a quick checklist for ensuring that you look presentable:
- Get adequate rest before you hit record. Video has a way of reflecting a subject’s energy levels. If you’re exhausted, you will come across as exhausted.
- Style your hair. Hair is often one of the first characteristics people notice when they meet someone new. If your hair appears to be unkempt, your audience could feel that you appear as a less credible information source.
- Wear freshly pressed clothing. Lighting can show more detail than people would otherwise notice in real life. Ensure that your clothing is clean and freshly pressed to ensure that you come across as a professional.
- Dress the part. Your dress code is dependent on who your audience is. Recording eLearning videos for business executives would differ from recording for graphics designers. When it comes to choosing what to wear consider who will watch your video and what they expect from you.
Step 6: Recording your video
Your storyboard is ready, course material prepped, equipment and stage are set and you're prepared to be in front of the camera. Before you hit record, here are a few tips to help you maximize your time and effort.
Prepare Your Script
Preparing what you’ll say is essential. It will help calm your nerves and make it easier to deliver your message. Should you create an entire script or just write down talking points? Should you memorize your lines? Each option works and it’s all dependant on your preference.
What’s most important is your delivery. You need to present yourself as confident and knowledgeable.
Batch your recording
Batching your video recording will save you time. The batching process involves recording similar shots all at once, allowing you to breeze through your content faster and get it done in one sitting.
It may seem like a counter-intuitive approach since you’ve created a storyboard, but it’s a more effective approach.
When you’re recording eLearning videos, you’ll have more than one section of content to record. If you follow the same camera transition format (start with a face-to-face recording and then move to a whiteboard or screen share) for all videos, you can record all face-to-face videos together and do the same for whiteboard or screen share shots.
Batching your video also enables you to use your equipment setups once. You won’t have to change angles as you follow your storyboard. You also need not worry about the positioning of cameras and lighting equipment or background elements that you may notice have become inconsistent in the editing process.
Step 7: Editing your video
Congratulations! You’ve made it to the final step!
Video editing can be considered a complex process. It involves picking software to use, piecing together shots, incorporating sound and tweaking lighting. In this step, we’ll dive into free video editing software you can use and tips for editing your videos.
Video editing software
There are many free video editing software suites available, but most are not very user-friendly. They typically require advanced video editing knowledge.
There are, however, more simplistic and easier-to-use programs out there. Here are 3 editing suites worth considering:
Filmora
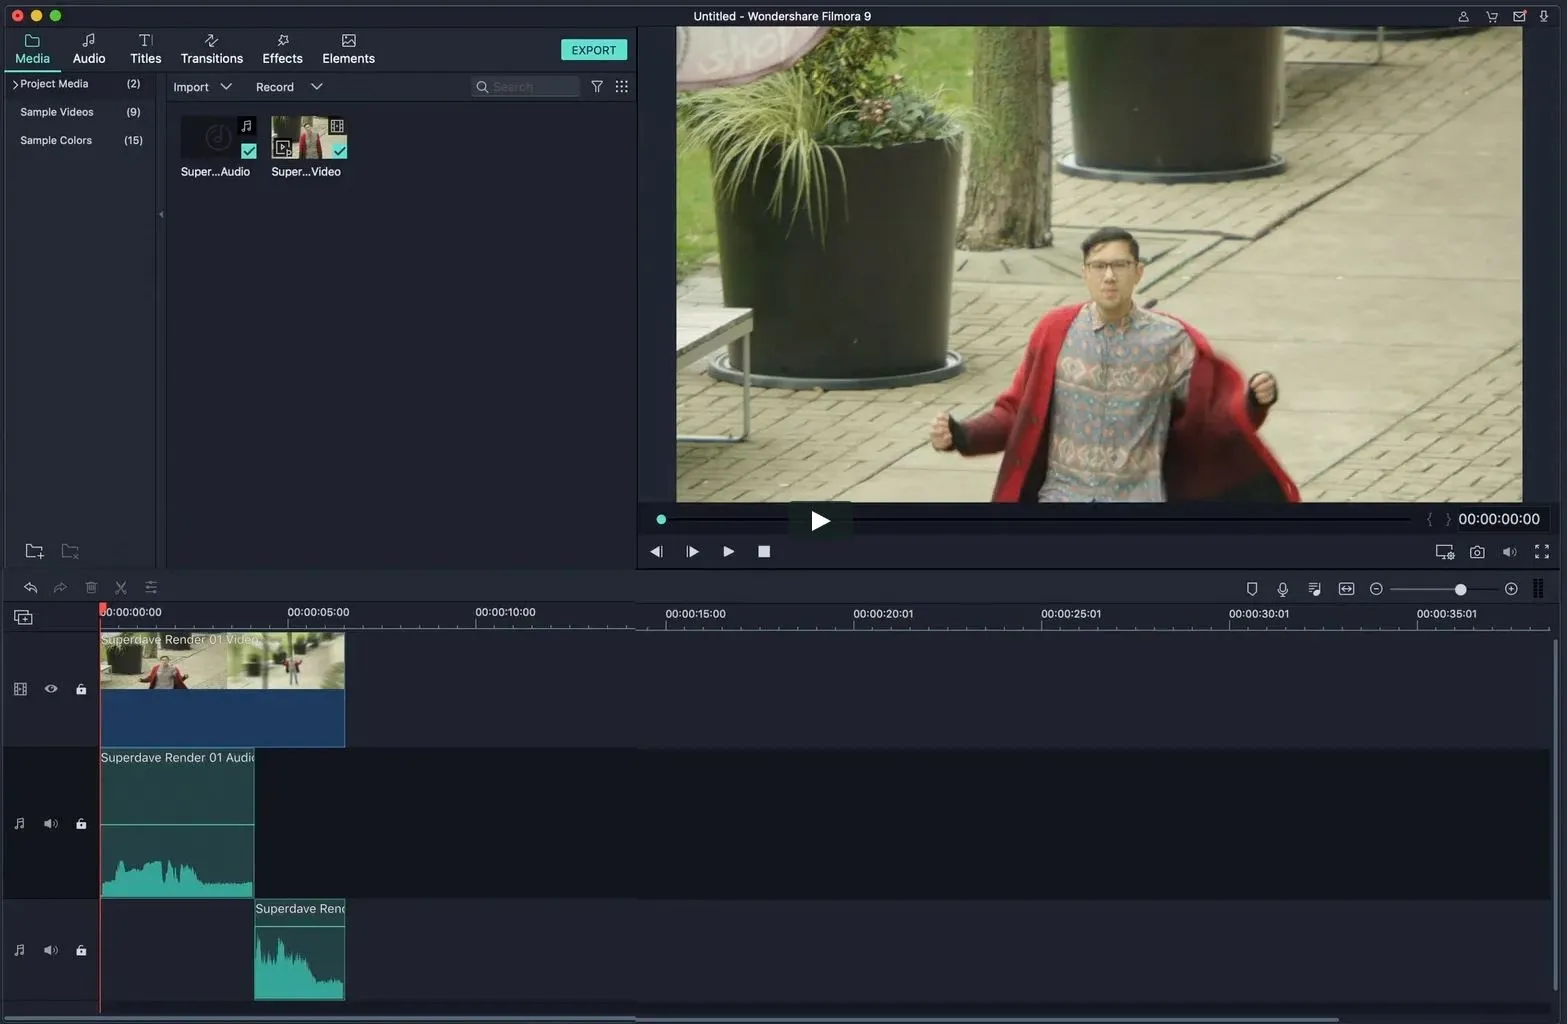
Filmora tops the list. It’s clean and basic layout is ideal for quick editing and includes everything beginner and advanced users need.
Features include trimming, transitions, overlays, and effects. You’re also able to add up to 100 media layers, making it possible to create highly complex videos.
Filmora works on Windows and Mac.
Lightworks
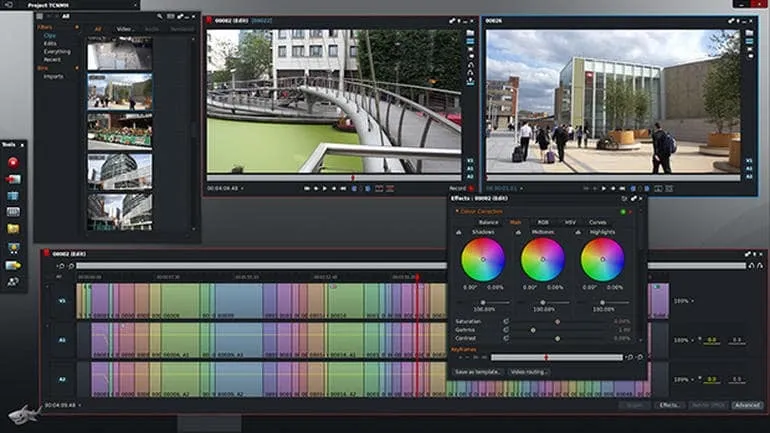
Lightworks is open source and works on Windows, Mac, and Linux. While it comes with advanced features, it isn’t complex to navigate and use.
Lightworks comes with a sizable library of royalty-free audio and video, trimming and editing functionality and audio and visual effects.
Shotcut
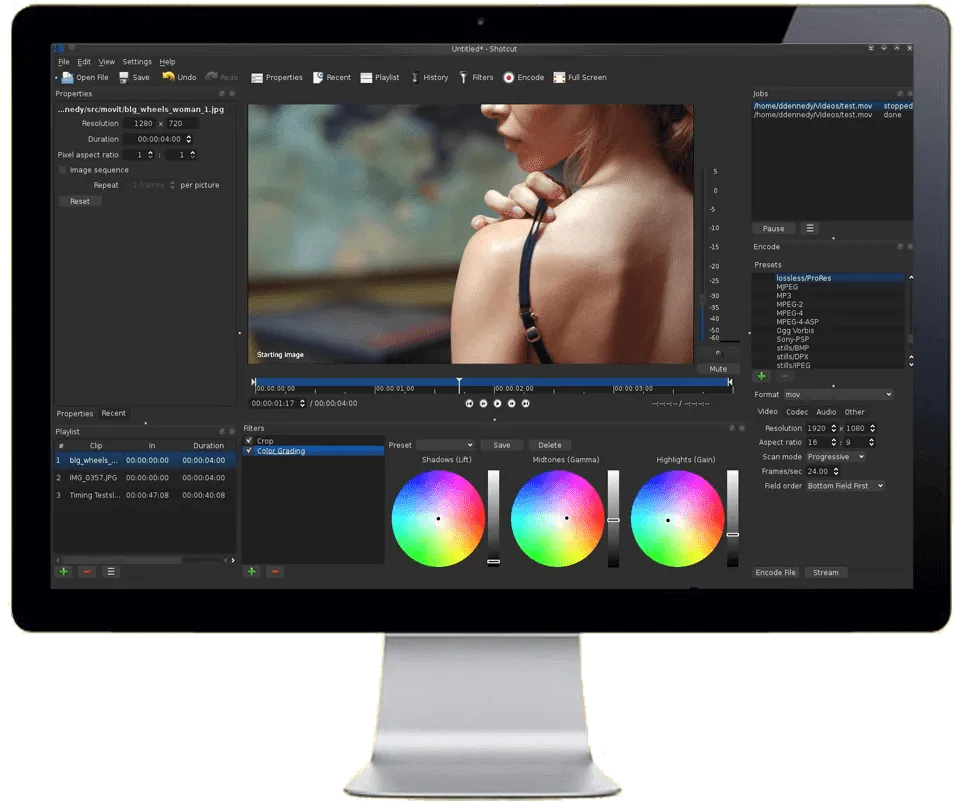
Shotcut also works on Windows, Mac, and Linux. It’s regarded as a powerful video editing tool and supports 4K resolution.
Like Lightworks, Shotcut is for more advanced video editors. Features include audio and visual effects, the ability to drag-and-drop files from your file manager, trim and edit frames, and more.
Get Shotcut
While video editing is a field on its own, you don’t need to be a pro video editor to make your videos look professional.
Here are 8 tips for editing your videos:
Use your storyboard
Having recorded multiple takes for different course material can make it hard to figure out which footage goes where. This is where your storyboard comes to the rescue. It will help you order your video and also guide your editing. By sticking to your storyboard, you’ll be able to eliminate unnecessary footage to produce impactful videos.
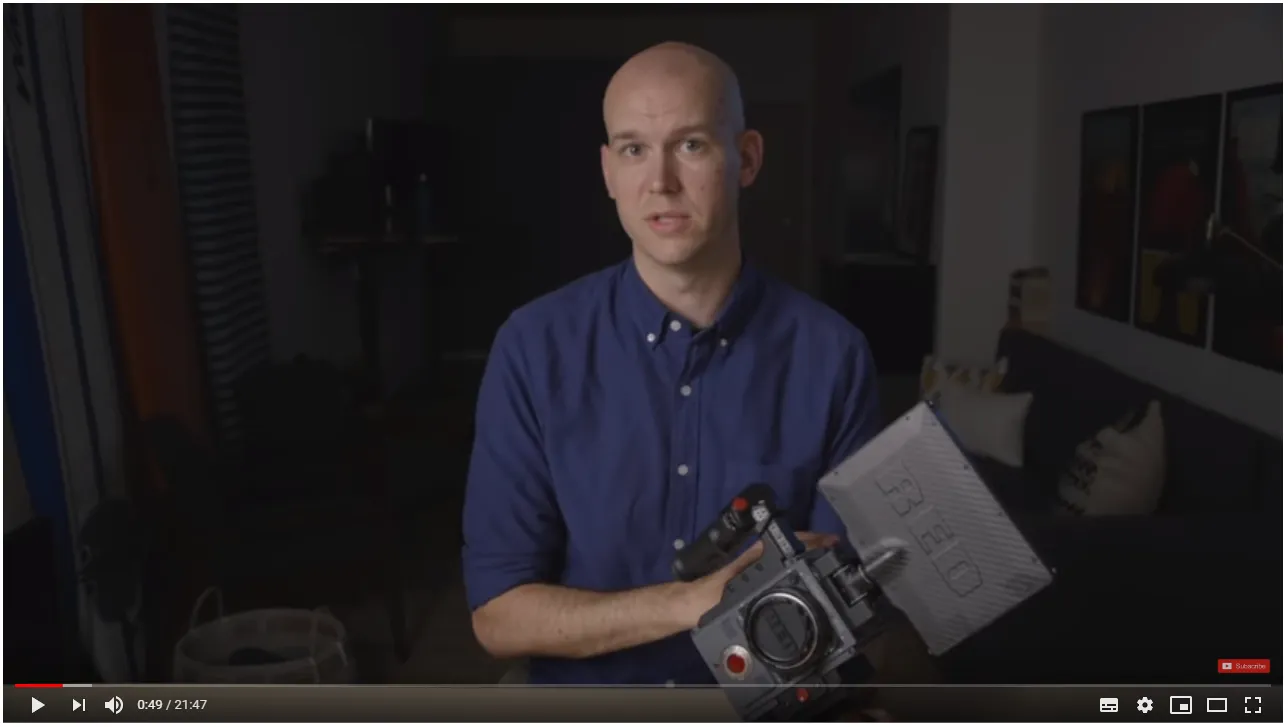
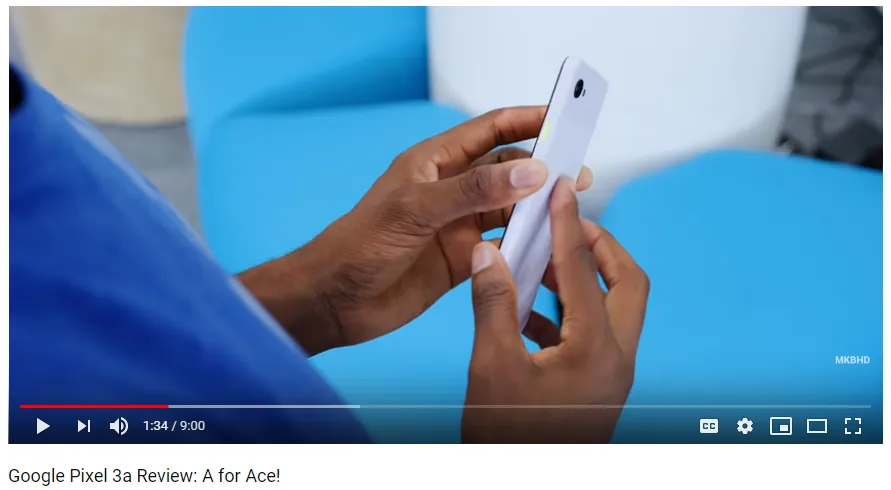
Pair your narratives with visual elements
Pairing narratives with visual elements can make for engaging videos. While it may require a little more effort to piece them together, it’s worth exploring to give your audience a more rewarding experience.
Here, turn to your storyboard for guidance on what takes place along your story timeline. Your goal is to find opportunities to express your storyline visually.
For example, in MKHB’s Google Pixel 3a Review, he walks viewers through his opinion of the Google Pixel 3a smartphone. As he shares more about the phone’s specs, he shows various shots of the phone being used to perform a certain task (taking photos and video):
Trim your videos to make them short and engaging
As you trim your videos, be sure to limit them to no longer than 6 minutes. This may be difficult, especially with a complex subject matter, but rest assured that you can always segment ideas into shorter videos.
Trim your videos then add transitions
Trim your video to identify the footage you’ll use before creating transitions. This approach will ensure that your video length is as short and polished as possible before adding to it.
Add titles
Titles help learners quickly identify the subject matter. When editing your videos, include a title at the beginning of each video to serve as a mental marker or primer for what comes next.
Control lighting to enhance video
Lighting can be enhanced during the editing process, but be careful. Too much or too little light can make your video look unnatural and therefore unappealing.
Layer sound
If you’ve recorded sound separately (see step 3), you’ll need to sync your audio with your video. Most editing suites are easy to work with and syncing video with audio involves pairing both formats using drag-and-drop functionality.
Using background music
Background music can be a nice touch but should be used sparingly. eLearning videos are meant to focus on course material first and music that lingers for too long can become distracting. If you use background music, limit it and ensure that you fade it out as your video progresses.
Establishing your video speed
It is possible to speed up or slow down your video during editing, but it may not always be necessary. Most eLearning video platforms offer students the ability to control the speed of videos. This allows them to set a pace that helps them better understand the content and learn at their own speed.
If you must adjust the speed of your video, it’s recommended that you use this feature in extreme cases where your content delivery is either too fast or too slow.
Using intros and outros
Intros and outros are triggers. They tell viewers when a video beginning and when it has ended. Without both, your videos would have abrupt openings and endings and make for a poor viewing experience.
As you plan your intro and outro, limit the length to no more than 8 seconds. This will be enough to prime your audience to receive new information.
Follow the formula for effective eLearning video production
Creating great eLearning videos is formulaic. You need a clear plan, the right equipment, and practice. When these ingredients come together in the 7-step framework, you’ll be able to create well-structured and impactful videos.

Amir Shahzeidi is the digital marketing manager at Uscreen, the leading all-in-one video monetization platform that allows creators to launch OTT platforms and monetize their content online.